The repair took ten minutes, once I had the new part.
The switch for the Bissell finally arrived from the UK. I am guessing with their "right to repair" laws, they sell the switch over there. The seller on eBay has sold over 700 of them - what does that tell us? For some reason, I cannot find a source for them in the USA, and Bissell was of no help whatsoever.
The repair isn't hard. I chose to solder the wires together. More ambitious people would solder the wires to the circuit board directly. Less ambitious people would use crimp fittings. All three methods would work.
To start, carefully pry off the switch cover from the part closest to the handle. The switch cover has two hinge pins, one long (outside) and one short (inside) so pry to the left (as viewed from the back) and it should pop out without damaging the cover. If not, well, superglue to the rescue.
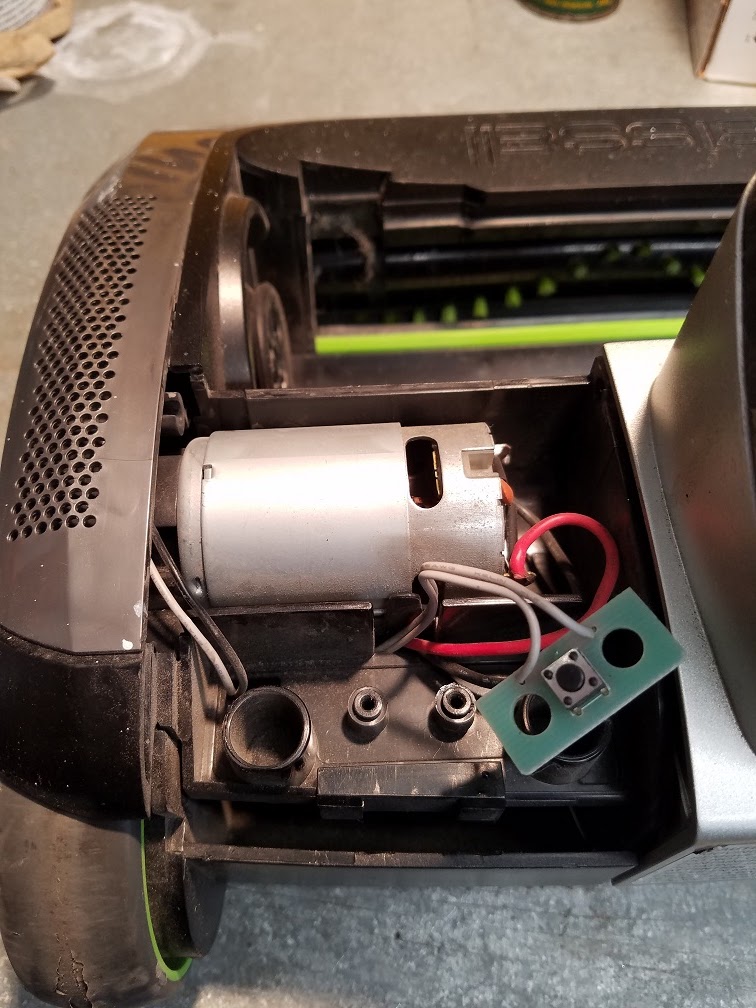
This is what the switch looks like under the cover - that tiny little button thing. Not shown are the two torx screws that hold it in place and the springs that go in the large holes on each side of the switch.
You can test the switch by jumpering it with a short wire. If you do so, it should turn on (and stay on) even after you remove the jumper wire. When you jumper it again, it will shut off. If that is the case, the switch is bad. You can also test it with a Volt-Ohm meter. It is an intermittent switch (momentary), not an ON/OFF switch. It conducts when pressed, opens when released. When broke, it is open all the time.
Cut the switch leads and strip them. I soldered these to the leads on the replacement switch and then shrink-tubed the connections.
Once both sides were done, it was a matter of tucking the wiring in (which was now much longer) into the motor compartment, screwing the new switch back in place, and then prying the switch cover back on.
This is a picture of the new switch being installed. You'll need a torx driver to tighten the two screws. There are also two springs that go in the holes on each side to make the switch cover bounce back. Route the wires carefully to avoid binding. I routed the extra switch wire to the right of the motor.
Reinstall the switch cover by inserting the long pin first and then gently prying the side with the short pin in place. The bottom of the cover snaps into the housing.
And it worked. Every machine has a weak spot, and apparently this switch is the weak spot on the 1984. I won't be mashing it with my foot again - like I used to. It is a pretty tiny thing!